I stumbled upon a Just Between Friends (JBF) sale when Stitchy was about eight months old. There were huge colorful signs surrounding our county fairgrounds. I wasn’t in a hurry to be anywhere. What the hey?! I’ll stop in and see what this is all about. The rest is history.
Since then, I always share my consignment wisdom with parents new, old and in between. I will say that it is a bit of work to start on that first sale, but after more than a decade and now my second set of JBF kids, I’ve got my groove going when it comes to prepping my goods.
1. Know What You Can Sell
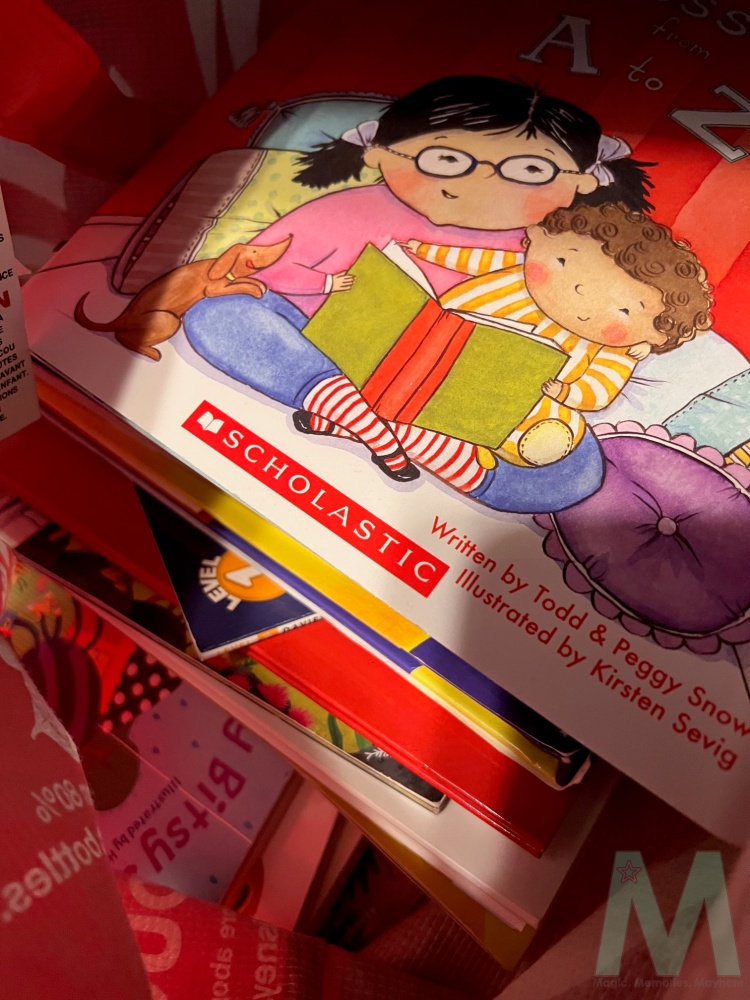
Before you even begin your search, be sure to check your sale’s guidelines for items you can and cannot sell. For larger sales, chances are if kids can use it, you can sell it. Some smaller sales may have restrictions due to space. Of course, recalled items aren’t accepted at all.
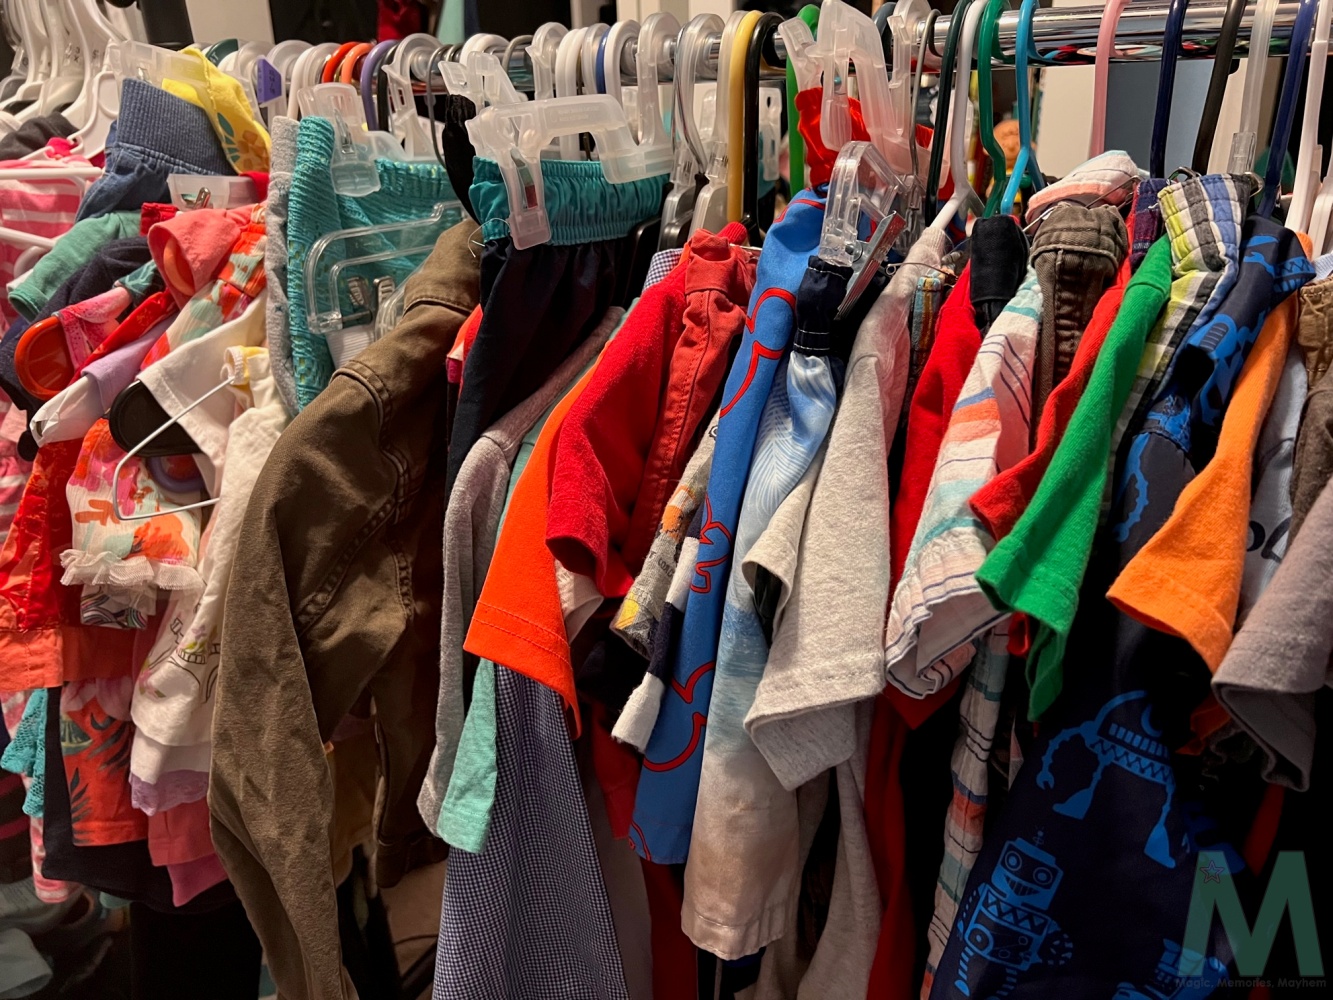
Personally, most of what we consign is clothing and shoes. When Stitchy was young, the amount of clothing he was gifted was insane. Add to that shopaholic grandmas, aunties and cousins, and I was wheeling in enough clothing for a full wardrobe for quadruplets. And much of it unworn and some still with tags! I’ve gotten a little better with my current littles, but much of our inventory is still fashion.
My next best seller is toy sets. If you’ve got all the pieces to a race car track or train set, bag it and tag it! These can be very pricy retail, so parents are ready to snatch it up at bargain prices, and I still price them high enough to bring in a little coin. The bonus…I probably bought them cheap at JBF to begin with!
While we’re out of this era, I always had luck with bigger items like strollers, car seats, etc. Make sure nothing is recalled, and you’re good to go! Don’t forget those other big items like furniture and outdoor toys.
I won’t reinvent the wheel for my local JBFers. Here are links to see what the Norman and OKC sales do and do not accept, as well as other consignor FAQs.
2. Designate a Place to Store Your Potential Sale Items
If you’re like me, you’ll find things the kids don’t play with anymore or have outgrown throughout the year, not just during a house purge (I do a whole house sweep about a month before each sale). If you have a place to put it until it’s time to tag, there’s a better chance it won’t creep back into the kids’ rooms.
I have a corner of our garage dedicated to JBF. It’s nothing fancy, just a wire bookcase, bins and a broken clothing rack. My Ikea clothing rack died, but I salvaged the top bar (budget mama, remember), and it hangs between two bookcases (the other bookcase holds our upcoming yard sale items) and is perfect for hanging JBF clothes. If you don’t have the space, a few bins do the trick, too.
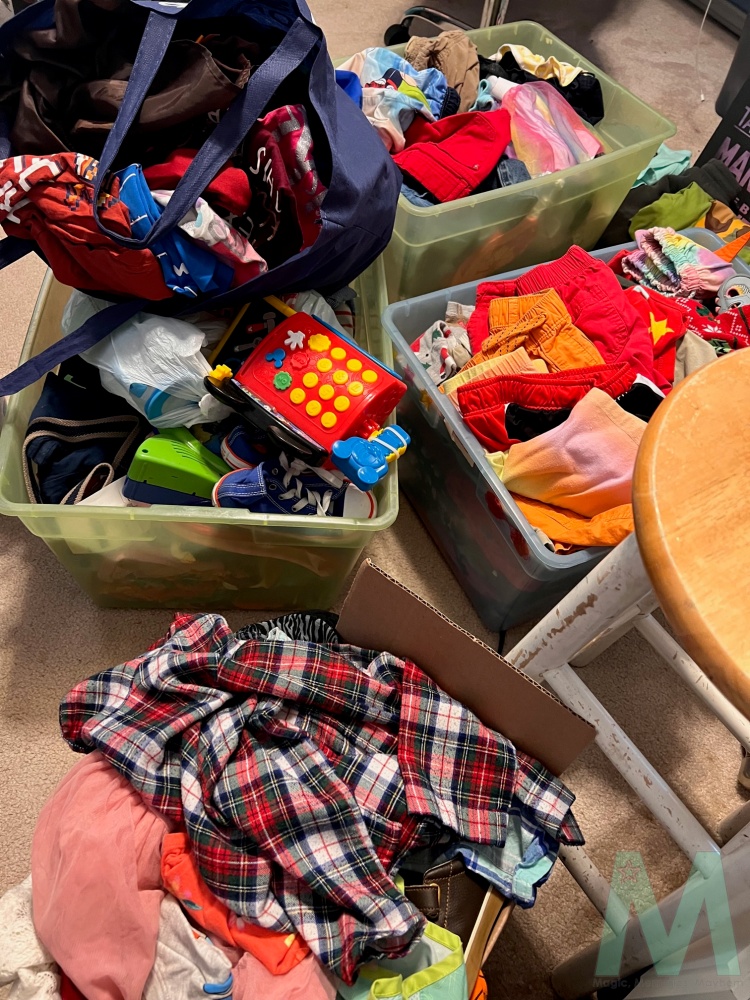
I do my best to keep like items in bins. One bin for my son’s clothes, one bin for my daughter’s, one for shoes, one for toys and one for other miscellaneous items.
As you’re putting items aside for the sale, try to keep an eye on quality. Many sales will have their own guidelines, but our local sale requires items to be within the last five years fashion-wise (this is largely subjective, but you don’t want your Walt Disney World 2005 tee in the mix), stain-free, rip-free and in good working order. On clothing, check zippers, buttons or any other moving parts. On toys, check for all parts, eletronics work, etc. This will save you work later when you start tagging things that may not be up to par.
3. Start Collecting Hangers
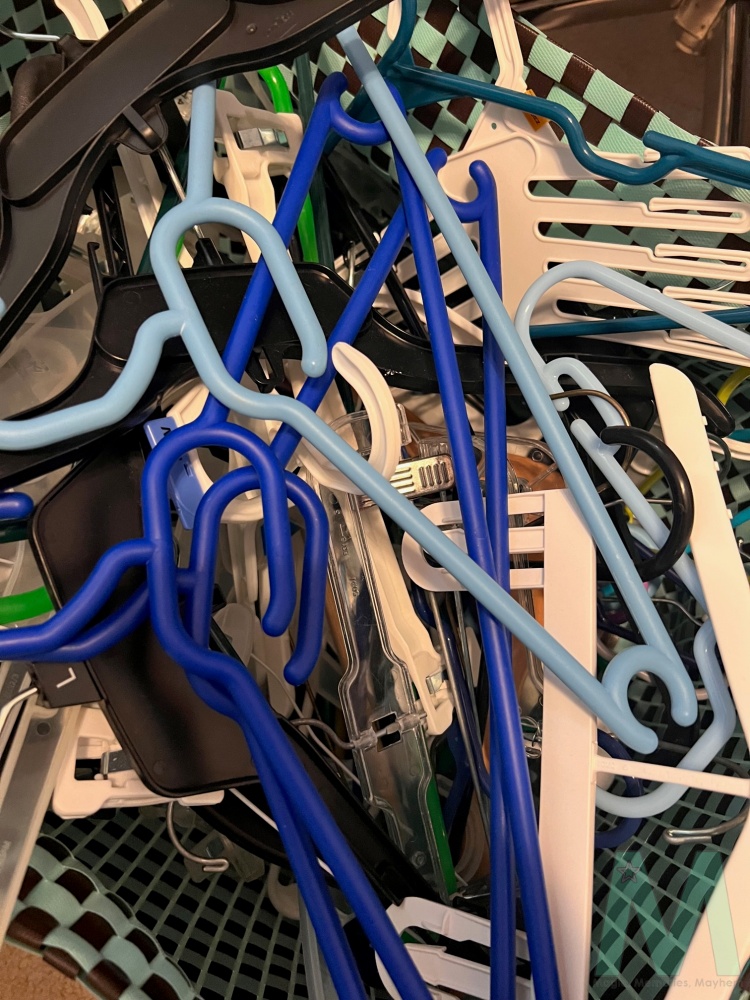
Another thing to do throughout the year is hoarding hangers. We used to buy a TON of clothing items at the sales, but I’ve recently gotten more intentional with my purchasing. We would have lots of hangers to recycle with our own items, but now we don’t have as many, uh, hanging around.
Fear not! Even though my buying habits have slowed a bit, in my decade plus of consigning, I have yet to buy a hanger. Here are a few places to find these consignor essentials:
- Ask stores if you can keep your hangers when buying clothes. Sometimes they’ll also give you extras.
- Check your local freecycle. I see a gaggle of hangers posted at least once a week.
- If you don’t see free hangers offered, don’t be afraid to post asking for some. Someone may just be planning to toss them not thinking they would be of use.
- Peruse yard sales. While some may be selling them, others are just tossing them and may be willing to let you take them off their hands.
- Ask your local dry cleaner. While plastic hangers are preferred, our local sale allows wire hangers, like you would see at the dry cleaner, for pants and skirts that need to be safety pinned to the hangers.
4. Time to Prep
You know what to sell, you’ve gathered it all in categoried bins, you’ve hoarded every hanger in sight. Now it’s time to get it ready to sell!
I like to give everything a once over before I start prepping. Do so in direct, bright light so you can catch any stains you may have missed. If you find any, pre-treat and toss them in the wash one more time. If you can’t get them out, stick them in the next yard sale or freecycle them.
Magic Erasers (affiliate link) are your friends! I cannot sing its praises enough. I swear by them for cleaning up shoes that have a few scuffs but are otherwise great, but they’re also perfect to clean up any plastic toys so they look shiny and new to potential buyers.
You’re about to see my rigid side come out, but I love her so much. She makes my organizational life easier. Once everything is prepped and has received it’s second check, it’s time to start making outfits. While I will sell single items if necessary (say a coat or I have more shirts than shorts, etc.), I prefer to put the majority of my items in sets. They tend to sell much better, and I can often get rid of items I wouldn’t necessarily sell by itself. For example, I wouldn’t sell a pair of black leggings at $2 a pop. It’s extra work and not a great return. However, if I can pair it with a top and up the price or two other pair of leggings? Absolutely! Plus, it uses less of those precious, precious hangers. 😉
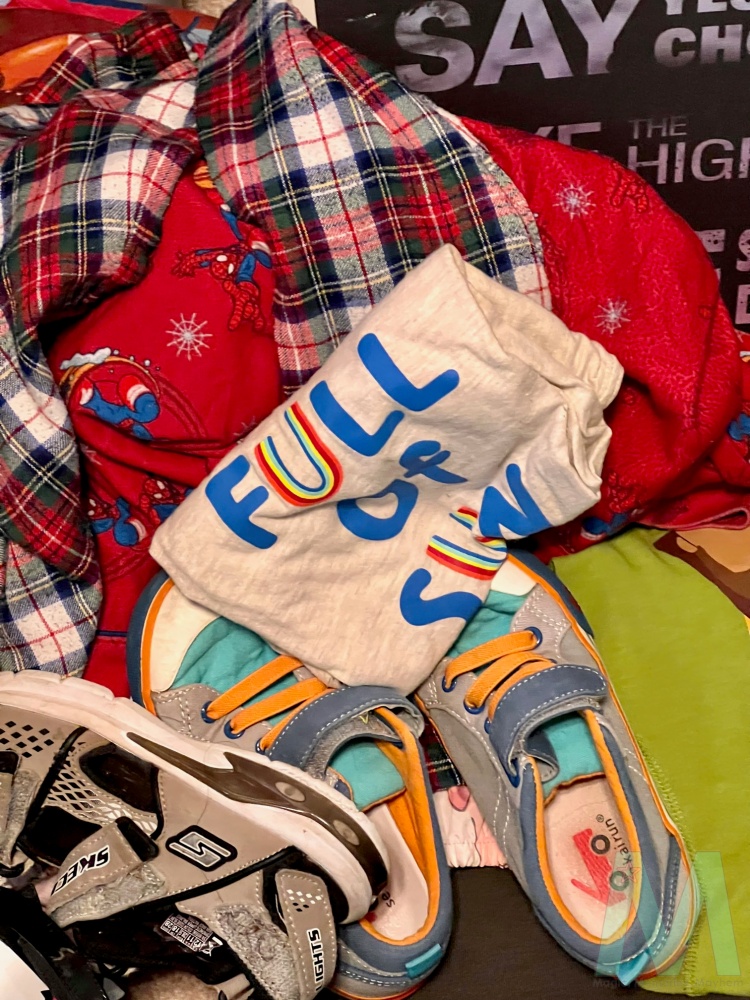
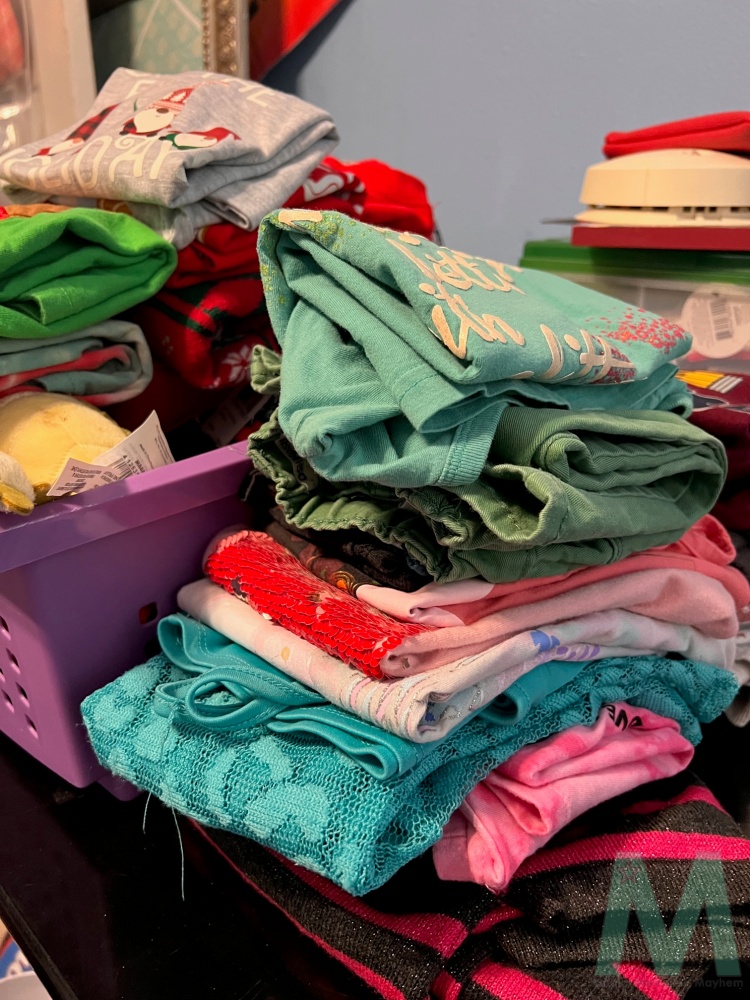
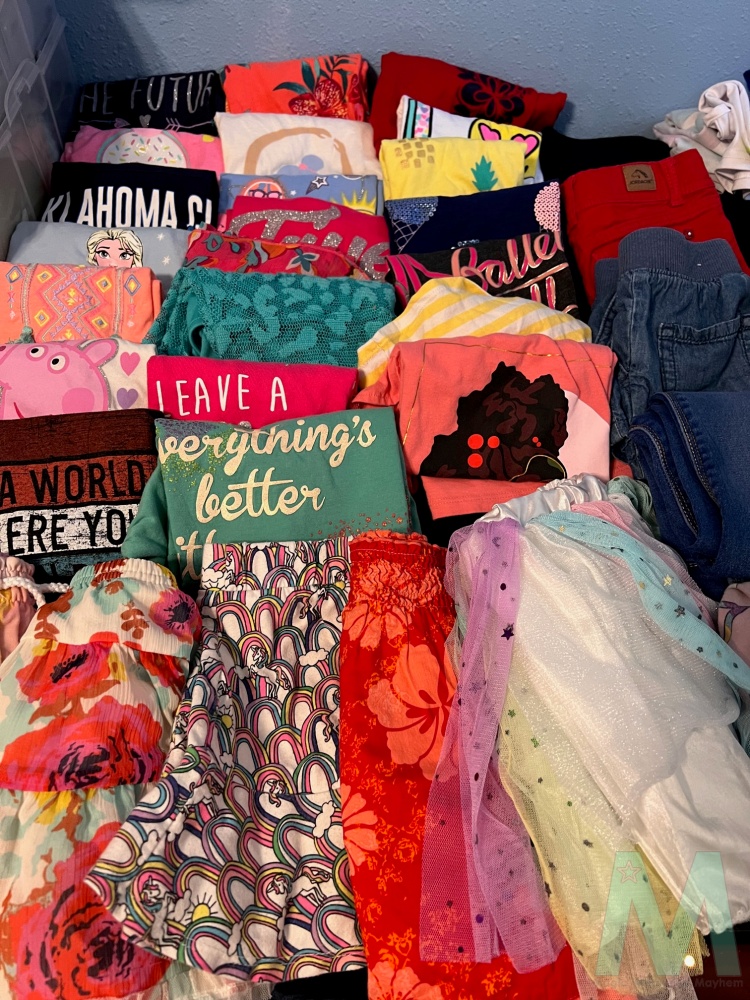
Once I go through and have made all of the outfits I can, I start making sets of like items as I mentioned earlier. Put together shorts, princess tees, sports team tops, etc. It feels like a better deal for the buyer, and I get rid of more!
Anything left over will be tagged on its own. I tend to mark these single items SUPER low just so they don’t come back. More on that in the next section!
5. Pricing Your Items
Now that you’ve gathered and gussied up the goods, here comes the fun part. Pricing and imagining all of those sales! There are many different ways to go about this. Some consignors just want to clean out the closets and making money is a bonus, so they price low hoping to get rid of it all. Others are super sentimental and price little Suzy’s communion dress darn near the price they paid for it new!
I fall somewhere in between, and here’s why. When Stitchy was a JBFer, he barely wore anything twice and most of his items were brand names (he was almost exclusively a Gap kid until he hit middle school). Then I factored in all the work I was doing prepping the items. However, I wanted to price low enough that I would sell most of it. After all, you’re not making any money if no one’s buying. I consistently sold $12-$18 sets, sometimes going a little higher or lower depending on the state of the closet.
Now with my littles, I tend to lean more towards pricing low and letting go. There are two of them, so everything in the house is doubled, and closet space is at a premium. While I will still sentimentally price a few things (where I’m ok with it coming back home or if it sells, the earnings help ease the mama pain), most outfits now tend to go for $10-14. Another change with the new era is discount days. Unless I’m really attached, everything goes half price!
Our local sale has a great online tagging system where descriptions, prices and donation status is put into forms and tags are generated with all pertinent information. You simply print, cut, then it’s…
6. Time to Tag
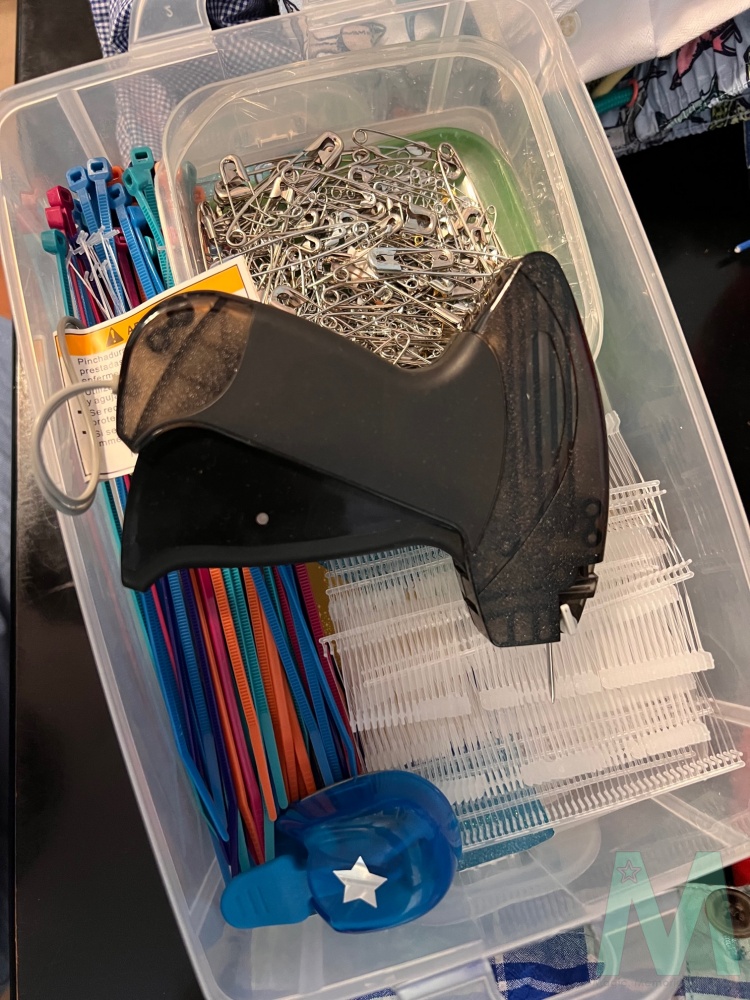
When we get to this step, I pull out my trusty tagging kit. You should make one, too. It will keep you from having to abandon your rack of clothes and bins of toys to hunt down your packing tape or safety pins.
Remember those sneaky things we talked about creeping back into the kids’ rooms earlier? Yeah, that tends to happen if you’re off looking for scissors, too.
In my kit, I keep safety pins of all sizes (most of these are from JBF purchases that I’ve kept for my own prep), zip ties for shoes and multipiece toys, a hole punch for reinforced tags, packing tape and a tagging gun (affiliate link) with fasteners.
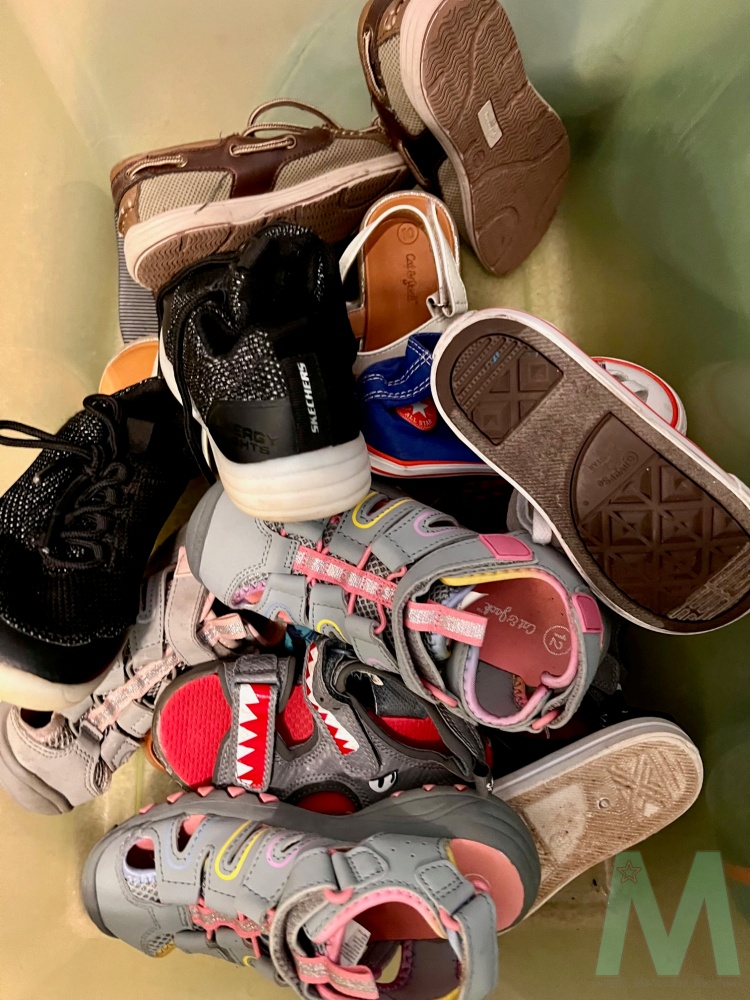
Pay attention to your local sale’s guidelines for how to tag certain items. For example, tagging guns can only be used on tags or the “lip” of a seam at our sale, shoes must be zip-tied together with a packing tape reinforced tag attached and they are specific on where tags should hang on clothing items.
7. Preparing for Drop-Off
My last step is always making everything as easy as possible for drop-off. It can be a bit chaotic if crowds aren’t your jam, so anything you can do ahead of time to make this go smoothly helps.
As I’m tagging or after, I put all of my items in gender categories then in size order within genders. This is how the sales are organized, so it makes it much easier when it comes time to hang up my items. All other items I tend to divide up into bags then put them in a bin so I can easily put them out on the tables. All books together, all shoes together, etc.
You can now relax and revel in all your consignor glory. Great job! Now all that’s left is dropping your items off and planning for that big, fat check!! Ours usually goes to the Disney fund. 😉

Hello! I LOVE this post – I realize it’s an older one, but we’re linking it on our JBF Owasso Facebook page today. Thanks for writing such an informative and detailed post on how you prep for JBF and I hope you do well this sale season!
Thanks Jenn! We love JBF!! Hopefully your consignors will find some tips they can use!
You have quite the system! i don’t sell back my stuff, I usually just donate them. But I love shopping at consignment sales! I almost always find a good deal!
Happy Saturday Sharefest!
I blame it on my slight OCD and growing up in a military family. Haha!!
I’ve always been an entrepreneur, so this is right up my alley! And we definitely love the shopping side of it, too. Can’t beat a great bargain!