We’re so happy to welcome Alex from Second Dad the the Right to Magic, Memories, Mayhem! Today he shares a fun and easy craft perfect for family night. Thank so much for popping over, Alex. We always love sharing the magic with other Disney geeks. Alex’s post does contain affiliate links where he may earn a commission (aka Disney money) if you purchase through the link.
If you want to stay in the Disney magic when you’re not at the parks and have a great time with your family, DIY crafts are a great way to go! In this article I’ll give you a great craft to try. We’re going to make Mickey figures out of old crayons.
We came up with the idea for this because my 10-year-old daughter needed to make a craft to sell for a craft fair at her school (to teach kids about commerce, using fake money). She wanted to make something unique, and of course it needed to be Disney themed.
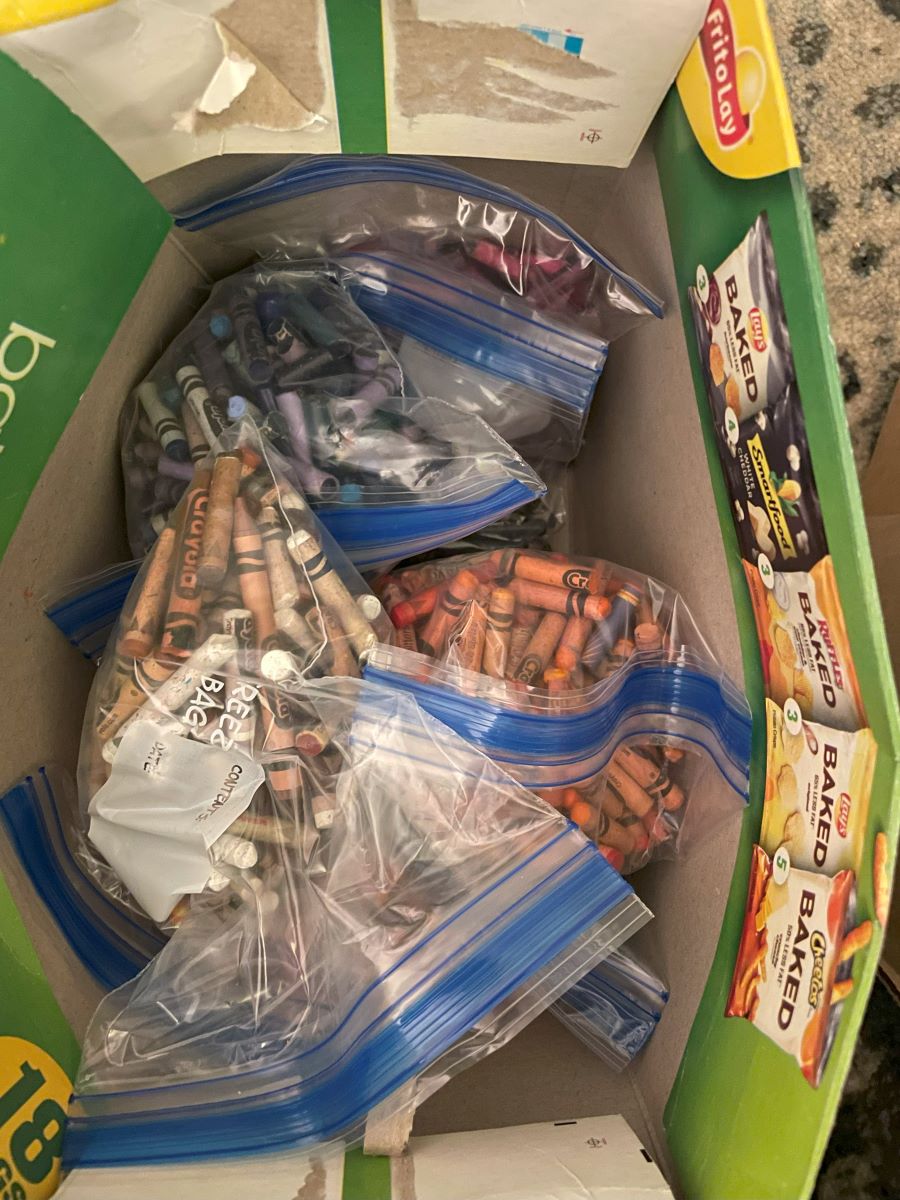
As parents, we wanted this project to be something she could participate in and something that didn’t cost a lot of money, so we rounded up some old crayons from neighbors and purchased a few silicone molds from Amazon. Everything else we needed, we already had. In a couple of hours we had some unique, multi-colored Mickey figures for her to sell, and they were a big hit with her classmates.

Supplies Needed
-Crayons, as many as you can get your hands on
-Mixing bowl filled with water
-access to an oven (adult supervision)
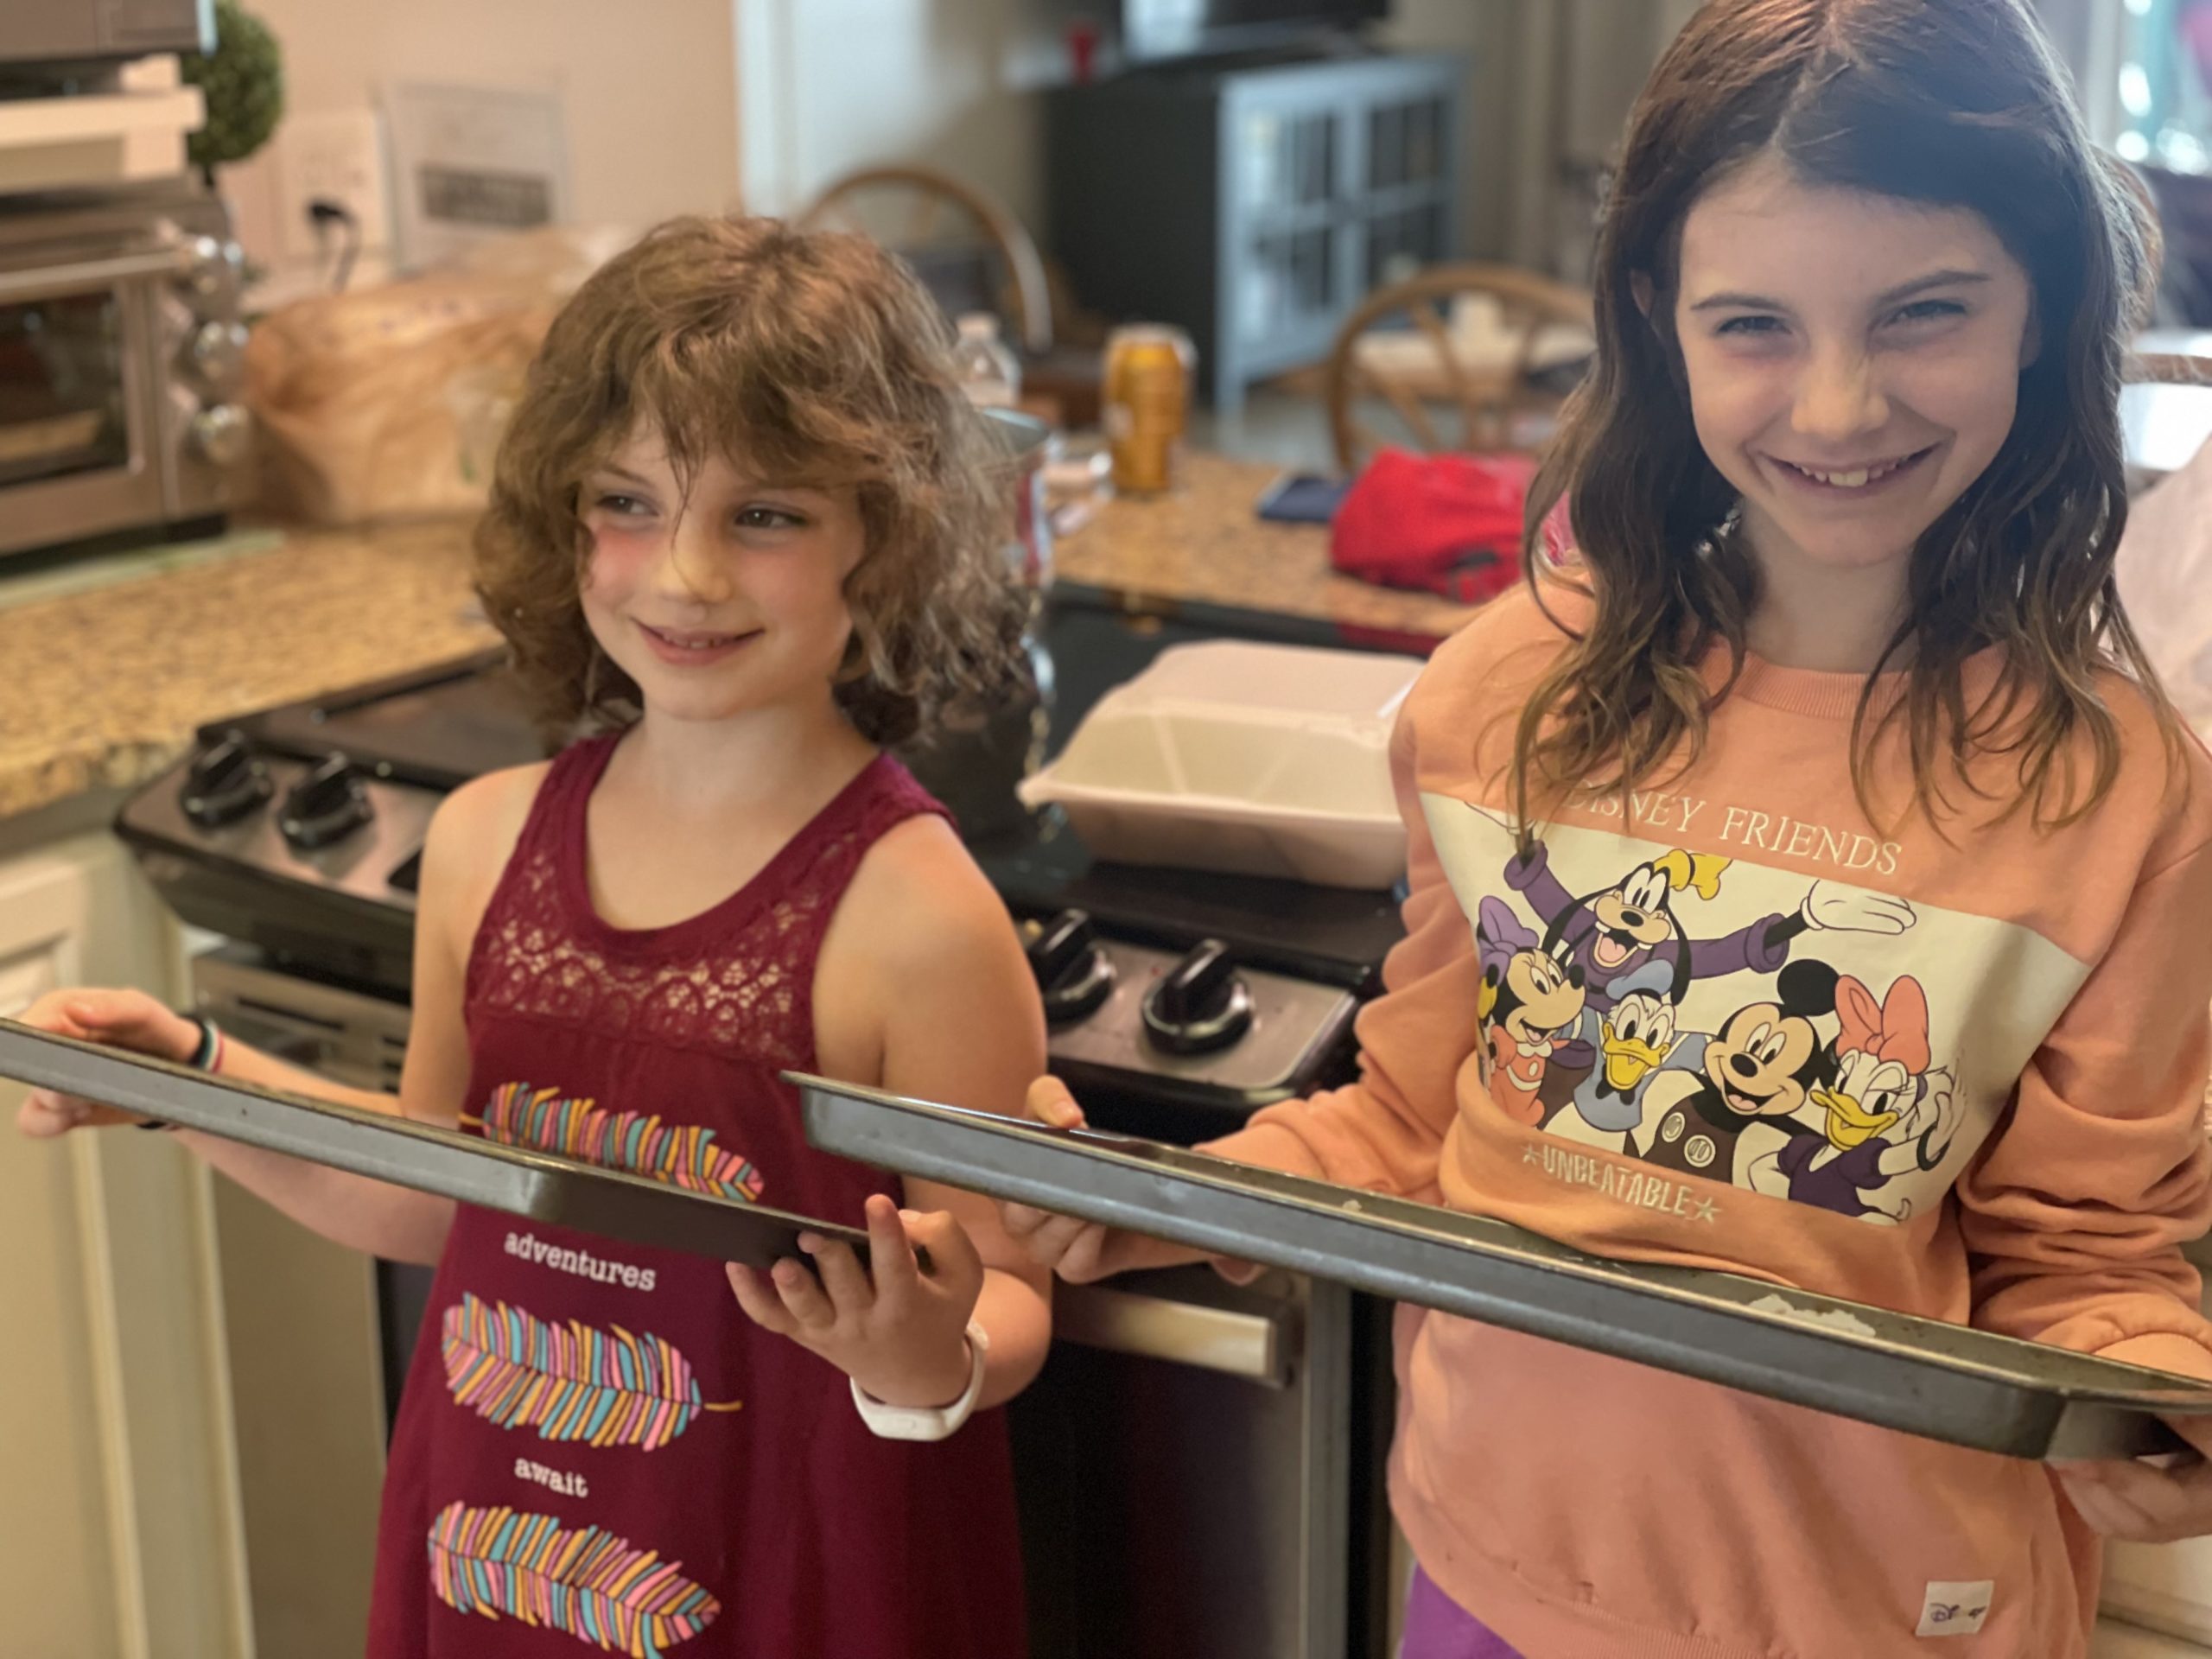
-baking sheets
-oven-safe silicone molds of any shape you want. We chose Mickey. (This is
an affiliate link. If you purchase through it, I may earn and use the money to go to Disney.)
Step 1: Collect Crayons
The first thing you need is a lot of crayons. To make several sheets, you’ll want hundreds of crayons. We’re going to melt them down, so don’t go buy brand new crayons. Find all the broken pieces around your house and ask your neighbors. We asked for old crayons on our neighborhood Facebook page, and several neighbors were happy to get rid of their junk crayons.
Step 2: Soak the Crayons and Remove Wrappers
The next step is to remove the paper covers from the crayons. Rather than peeling them with your fingers, use the large bowl with water in it to soak them for 15 minutes. After that, the wrappers will slide right off, saving you tons of time. Crayons are made of wax and therefore waterproof, so you don’t have to worry about messing up the crayons.
Step 3: Sort Crayons by Color
This step isn’t mandatory, but it’s a great way to get younger kids involved. It will also make things easier later, particularly if you’re doing a lot of figures. Sort all the crayons into separate piles by color.


Step 4: Turn on the Oven
Next you want to preheat the oven. You can do it as low as 200 degrees or as high as 350 degrees. The lower temperature will obviously take longer, but the higher temperature runs a risk of burning the crayons if you don’t watch carefully. (Parent supervision required)
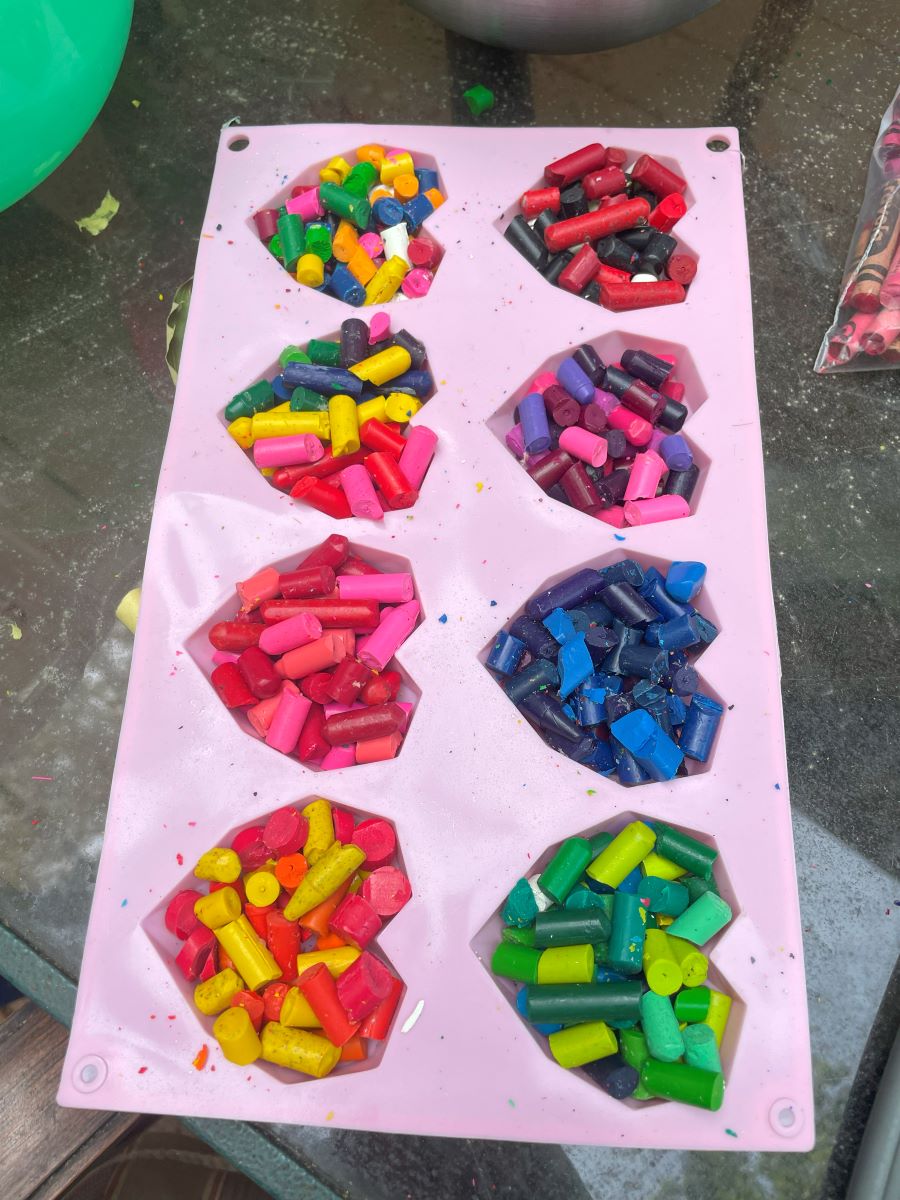
Step 5: Decide your Color Scheme and Fill the Molds
While the oven is preheating, you want to get the baking trays out and set the molds down. Then, decide your color scheme.
Do you want to do traditional Mickey red, black, and yellow? Do you want do a rainbow color? A solid color? Pick out the scheme and start filling up the molds.
A few tips: First, there isn’t a way to make clean designs with the melted crayons, so focus on color combinations rather than trying to give mickey eyes or a mouth. Also, the colors are all going to swirl together, but they won’t mix and make brown.
Second, you want to over stuff the molds. The crayons will melt down, so you make the crayons in the molds higher than the edge of the mold.
Third, we’ve found that bigger molds are easier for large crayon pieces. You can use smaller molds, but you may need to snap the crayons into smaller pieces.
Step 6: Place Baking Trays in the Oven
Now, place the crayons in the oven. Set a timer for 15 minutes, then start checking them every minute. If you can see chunks of crayon, they aren’t ready yet. Once all the chunks are gone, they are ready to come out. You don’t want to burn the crayons, so remove them promptly when they’re ready. Don’t forget to use oven mitts and don’t touch the crayons. They are very hot.


Step 7: Allow Them to Cool
The molds aren’t ready until they are back to room temperature. Therefore, either let them sit out for a while, or place them in fridge or freezer to speed things up.
Step 7: Remove from Mold and Give Them to your Friends
The beauty of the silicone mold versus a metal one is how easy it is to get the silicone off of the figures. Carefully remove them and do whatever you want with them! You could even…color with them.

Alex has three kids and an amazing wife, and he’s spent a lot of time at Disney Parks and on Disney Cruises with them. He loves Disney and wants to share tips, insights, and funny stories to help parents everywhere navigate the Most Magical Place on Earth. Find him at www.seconddadtotheright.com.
